Updated: 24 October 2026
To discuss rope for visually marking an area, prepare a route sketch, the length of each section, tie-point positions, the intended installation method, and colours to be considered. Include the site conditions and ask the supplier to assess options through a sample. A visual boundary rope must not be assumed to be safety equipment, a people-restraint device, or lifting equipment without suitable evidence.
Start with the specific boundary function
“Area boundary” can mean marking a temporary route, separating a storage zone, directing a queue, or providing a visual marker at a work location. State what is being marked, who needs to see it, and whether it will be indoors or outdoors. Record whether the route is straight, turns, has access points, or needs an opening. This turns one vague total into measurable sections.
Separate route length from total rope discussion
Route length is the distance to be marked. Total rope discussion may also involve tie points, turns, joins, end handling, and a sample piece. Do not convert that difference into a universal allowance. Use the actual sketch and measurements with the supplier.
| Record | What to note | Why it helps |
|---|---|---|
| Route sections | Area name and measured length | Separates main routes, turns, and access points |
| Tie points | Start, end, turns, and openings | Supports an installation discussion without guessing |
| Site conditions | Indoor/outdoor, dry/wet, surrounding surface | Provides context that needs confirmation |
| Visual marking | Intended colour and visibility purpose | Avoids assuming one colour suits every location |
| Sample | Sample piece, installation method, observations | Records a decision basis before a full requirement is discussed |
Use a simple sketch that can be checked together
The sketch need not be a complex technical drawing. Name each section, add the measured length, mark tie points, and show access that must remain open. Photos can supplement it when they include a date and direction. A photo from one angle does not automatically describe the whole route.
For example, a hypothetical area may have one straight side, one turning side, and one entrance. Record them separately. When a sample is installed, observe whether its tie positions and route shape follow the sketch. This is a documentation method, not a recommendation for length, tying method, or performance level.
Describe installation, not only location
State whether the rope will use existing points, connect to another boundary, or need an opening. If hooks, posts, or other accessories are involved, identify them as project conditions and ask for component compatibility to be confirmed. Do not infer load-bearing ability from appearance or a product name.
If the boundary has a safety, access-control, people-restraint, or lifting function, do not rely on general assumptions. Use the applicable requirements and evidence. This article is about gathering information for visual marking, not designing a safety system.
Make a sample part of the decision process
Share the sketch, photos, marking purpose, and intended installation method with the people evaluating a sample. Examine it under conditions that reasonably represent use; record fit at tie points, route visibility, and unanswered questions. That observation does not replace testing or approval that may be required for a particular use.
Keep one decision record that can be revisited
After reviewing a sample, keep the sketch, photos, inspection date, area name, and answers to open questions in one record. Mark what was measured, what is an installation plan, and what still awaits confirmation. That distinction matters when a route changes or several people manage procurement.
The record can also identify the sketch version and reason for a change, such as an access point remaining open or a tie point moving. Do not turn it into an untested technical claim. If project requirements change, recheck the affected part rather than assuming the initial sample outcome automatically applies.
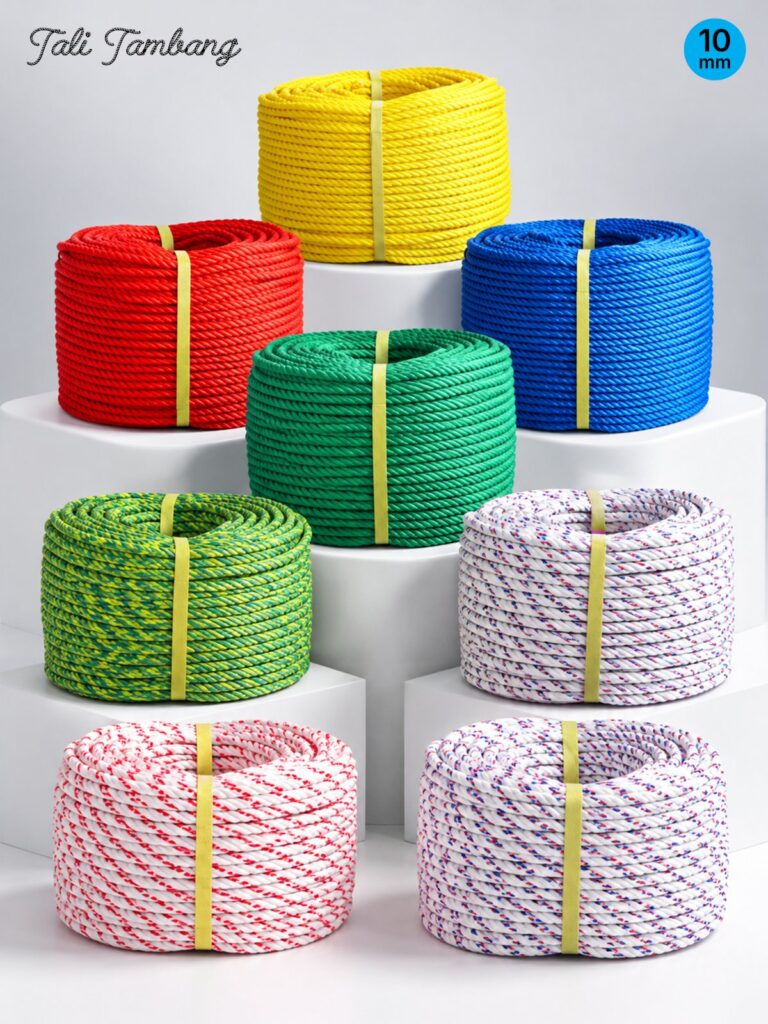
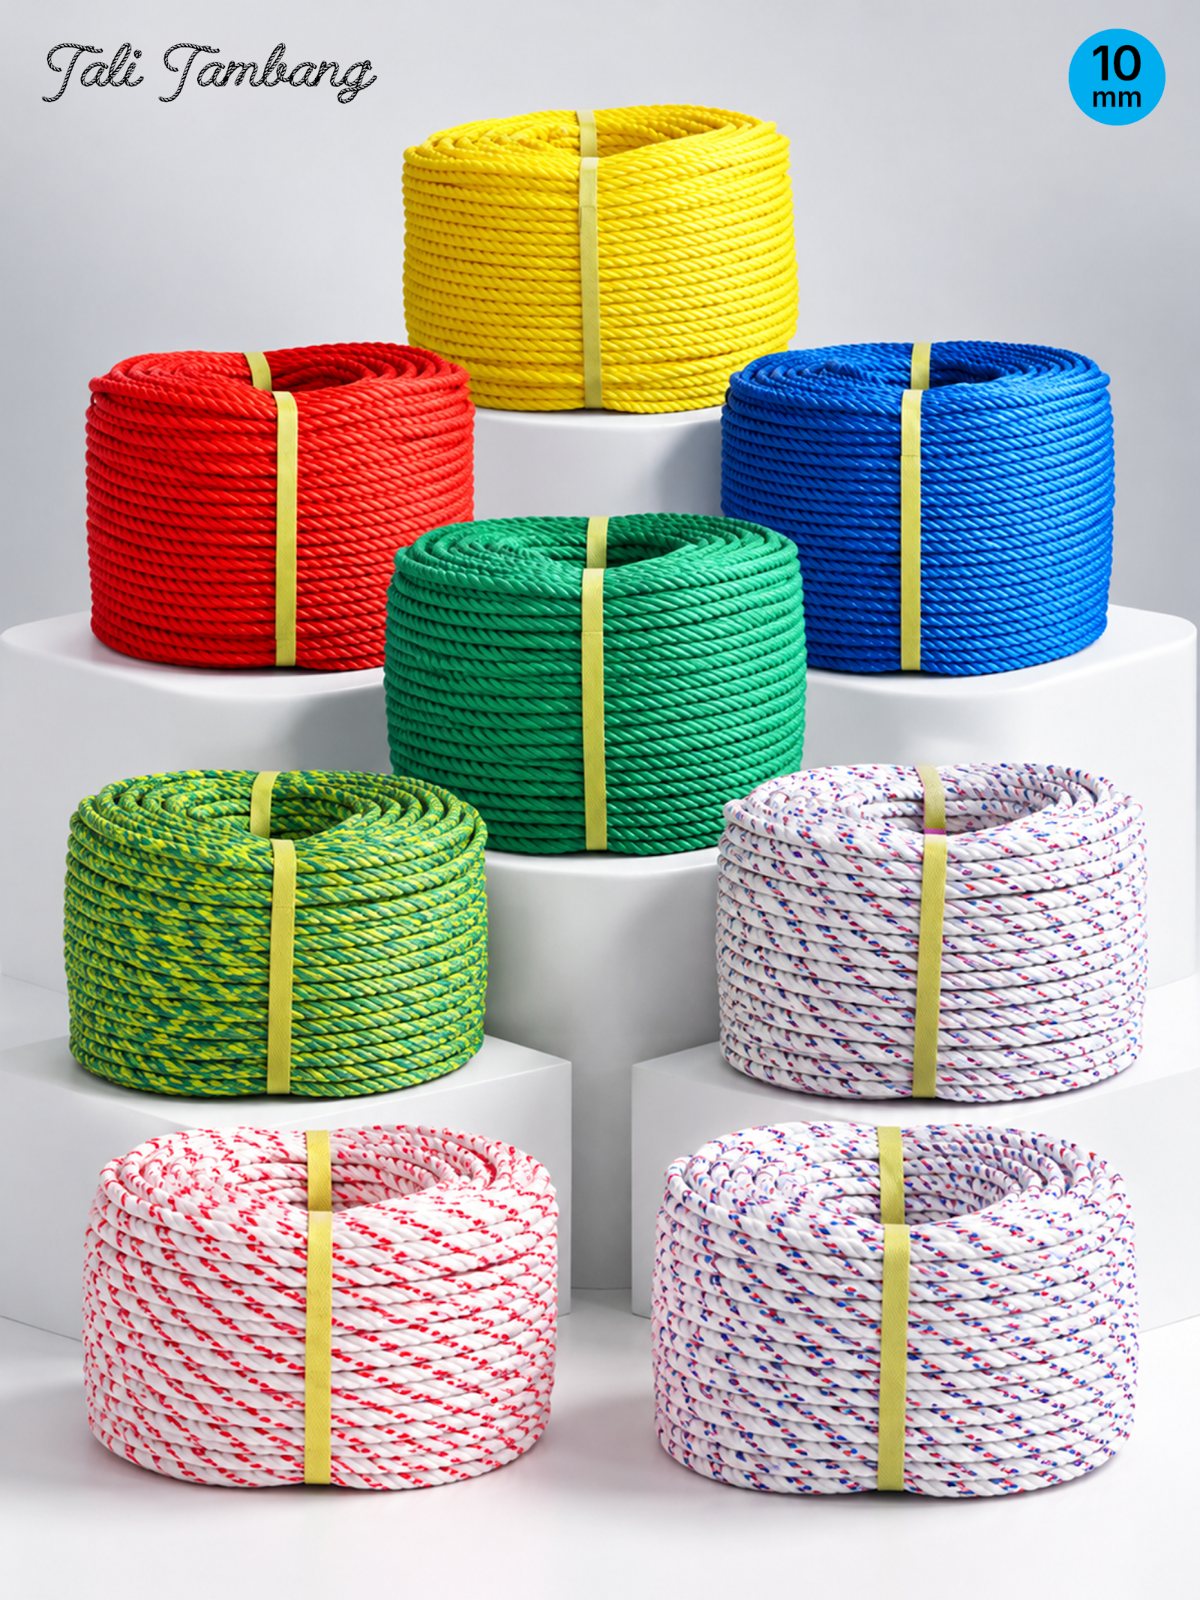
For product context, see Cave Mekar’s raffia rope and rope page and product directory. Cross-company requirements still need confirmation for the actual use; the Cave Sumber Berkat product list is a discussion starting point, not evidence of specification or availability.
Questions before requesting a quotation or sample
- What visual-marking purpose and areas are covered?
- What is each measured route section?
- Where are starts, ends, turns, joins, and access points?
- How will it be installed, and which components already exist?
- What are the site conditions?
- Which colours or visual markers are to be evaluated?
- What sample is needed, and who records the outcome?
These notes keep the conversation focused on stated needs. Price, minimum order, roll length, stock, certification, and safety capability must not be assumed; confirm them directly with the supplier or appropriate authority.
Frequently asked questions
What information matters most at the start?
A route sketch, each section length, tie points, installation method, site conditions, visual-marking purpose, and sample needs are practical starting points.
Is route length the same as total rope required?
Not necessarily. Tie points, turns, joins, and end handling can affect the total discussion. Use actual measurements and a sketch.
Can boundary rope be treated as safety equipment?
No. Rope for visual marking is not automatically suitable for people restraint, lifting, or a safety function. Those functions need relevant evidence and requirements.
Why describe the installation method?
It provides context for tie points, access, and components that need evaluation. Without it, suitability should not be assumed.
How should a sample be evaluated?
Check it under representative conditions, compare it with the sketch and installation method, and record outcomes and unresolved questions.