Updated 9 November 2026
How can you tell whether you need a surface separator or a cushioning layer?
When choosing between PE sheet and bubble wrap to line a package, mark the surfaces that will come into contact. Decide whether the layer needs to separate two faces or occupy space around a particular part. Photograph the contact points and measure the space in a sample box before discussing materials. A good fit alone cannot establish impact protection.
Use the actual items you intend to pack, including the components normally shipped with them. Put them in the positions the packing operator uses. Two parts may look well separated from above. From the side, a screw head, container lip or catch can project towards the other item. Mark the protrusion on your photograph. State which surfaces should stay apart and which part needs to be kept from moving freely inside the box.
Where is a flat separator easiest to evaluate?
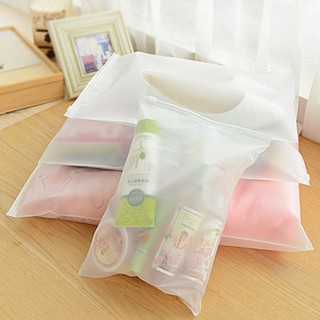
Try a flat layer between two items with faces that meet, such as a pair of sample display panels. Check whether the layer lies flat all the way to the edges you want to separate. If it drags as you insert the second panel, mark the direction it moves. Look for a snagged edge, a poorly sized piece or a problem with the loading sequence. Those issues can look alike when you open the box, but they call for different adjustments.
Pay attention to unpacking, too. Can the person opening the box lift the top panel without pulling up the layer and lower panel with it? If you plan to leave some sheet exposed so it is easy to grasp, measure the remaining space up to the box flap. Take a photograph from the opening so the product team can see where hands need to fit. That requirement is easy to miss when a supplier only receives the item’s length and width.
When should you measure room for cushioning?
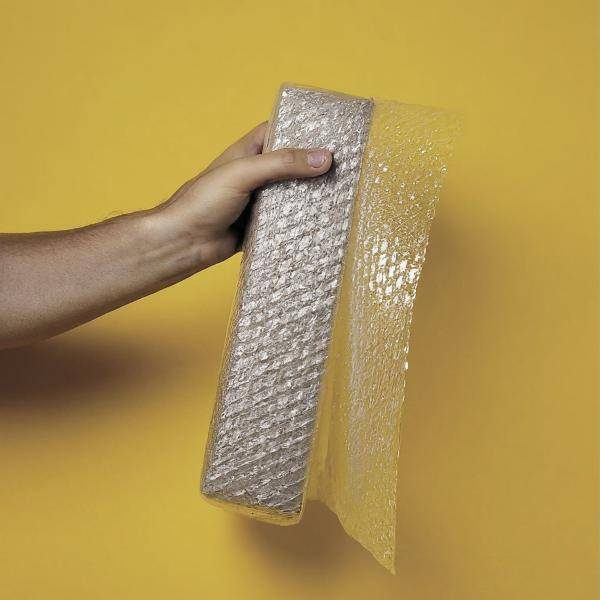
Measure with the items assembled and placed as they will be when the box closes. If a piece protrudes, take a measurement there as well as at the box edge. Check the side facing the lid and the area near the carton seam. When you try bubble wrap, look for changes in the item’s position, folds caught in the seam or a lid that needs to be pressed down. Record where the problem appears before changing the shape or size of the layer.
Test the placement of loose accessories separately. A small stand tucked down the side of a box, for example, can move towards the face of a panel when the package changes orientation. Adding a layer on top of the panel leaves the stand’s path unresolved. Make a separate space for it or change the loading order on the sample, then check the contact points again. Avoid basing an order on a sample box that has to be forced shut.
What can you compare in one sample box?
| What you see in the sample | What to try | What to record |
|---|---|---|
| Two facing surfaces are touching | Insert a flat layer using the normal loading sequence. | The area that stays covered and the edges that shift. |
| A protrusion faces the box wall | Measure the gap at the protrusion and try a cushioning layer there. | Remaining clearance, item movement and lid fit. |
| A loose accessory comes close to the item’s surface | Compare two accessory positions with the same item and box. | The accessory’s path and any new contact points. |
Imagine a shop packs two display panels and one stand in a box. The panels face each other and the stand sits alongside them. The first trial uses only a flat separator between the panels. When the box is opened, the sheet still covers both panels, but the end of the stand is close to one face. Take a picture before dismantling the package. It shows the difference between the separator staying in place and the stand still needing a better position.
For the second trial, move the stand somewhere you can inspect from the opening. Keep the panels, box and separator loading sequence the same to make the comparison easier to interpret. If there is room around the stand, try a cushioning layer at that point and see whether the lid closes as usual. Record one change at a time. If the lid sits high, measure the affected area and check whether the stand or a fold in the layer is taking up that space. This check helps identify configurations worth evaluating further.
If both layers go into the same box, name their locations in the trial sheet. Use “A” for the separator between the panels and “B” for the layer around the stand. Match each observation to those letters when looking at the photographs. If A stays flat and B catches under the lid, retain your notes for A and revise the position of B. This also makes the arrangement easier for a new operator to reproduce. The picture shows where the pieces go, and the notes explain what each piece does. For boxes opened from a different direction, repeat the unpacking step and check for loose pieces left inside.
Document the contact path without changing the sample itself. On a prototype panel, for example, you can mark a reference line on paper outside the area being lined. Photograph the reference line before placing the sheet and again before lifting the panel. If the line shows that the sheet moved, check whether it first moved as the panel went in or as the operator pulled it out. Record the earliest stage you can observe clearly. This helps the team identify a change to the separator loading sequence before discussing cushioning.
For a sharp corner or a part liable to leave marks, ask the product team to discuss a sample that represents that shape. List which surfaces may touch and which need to remain separate. Use the observations to clarify the question before requesting material samples.
What should you take to a discussion about materials?
Send an unpacked photograph, a side and overhead view of the packed arrangement, and the inside dimensions of the box. Mark where you took each measurement. Add a short observation, such as “the sheet shifted when the second panel went in” or “the lid lifted next to the stand”. Those descriptions give the product team something specific to investigate. If you use multiple box sizes, keep their evidence separate so observations from one sample do not get applied to another.
Describe the packing steps and how the recipient opens the package. If the operator inserts the sheet after the product is already inside, show how much space remains for that step. If the recipient pulls the product out through a narrow side, identify the sheet edge that could get caught. Add an opening arrow if the two teams hold the box in different orientations. Those details can change the piece shape, fold or placement even where the item dimensions stay the same.
See the Cave Mekar Group pages for PE plastic and bubble wrap for product context. Use the group product directory to discuss both needs together. Explain what you observed in the sample box and agree the next check with the product team. If your project requires protection from distribution impacts, define a separate test method and acceptance criteria alongside the box fit check.
Frequently asked questions
Can PE sheet and bubble wrap be used in the same box?
You can try them at different points. Check that each layer stays in place and the lid closes as usual.
Which part should you measure first?
Measure the gap at the contact point or protrusion closest to the lid or box wall.
What should you check if the flat sheet moves?
Watch as you insert the second item. Check for a snagged edge, the size of the piece and the loading sequence.
Does a lid that closes show the contents are safe from impacts?
A lid that closes shows the sample arrangement fits. Impact protection needs a separate test.
Which photos help the product team?
Send an unpacked photo and overhead and side views of the arrangement. Mark the contact points and where you measured.